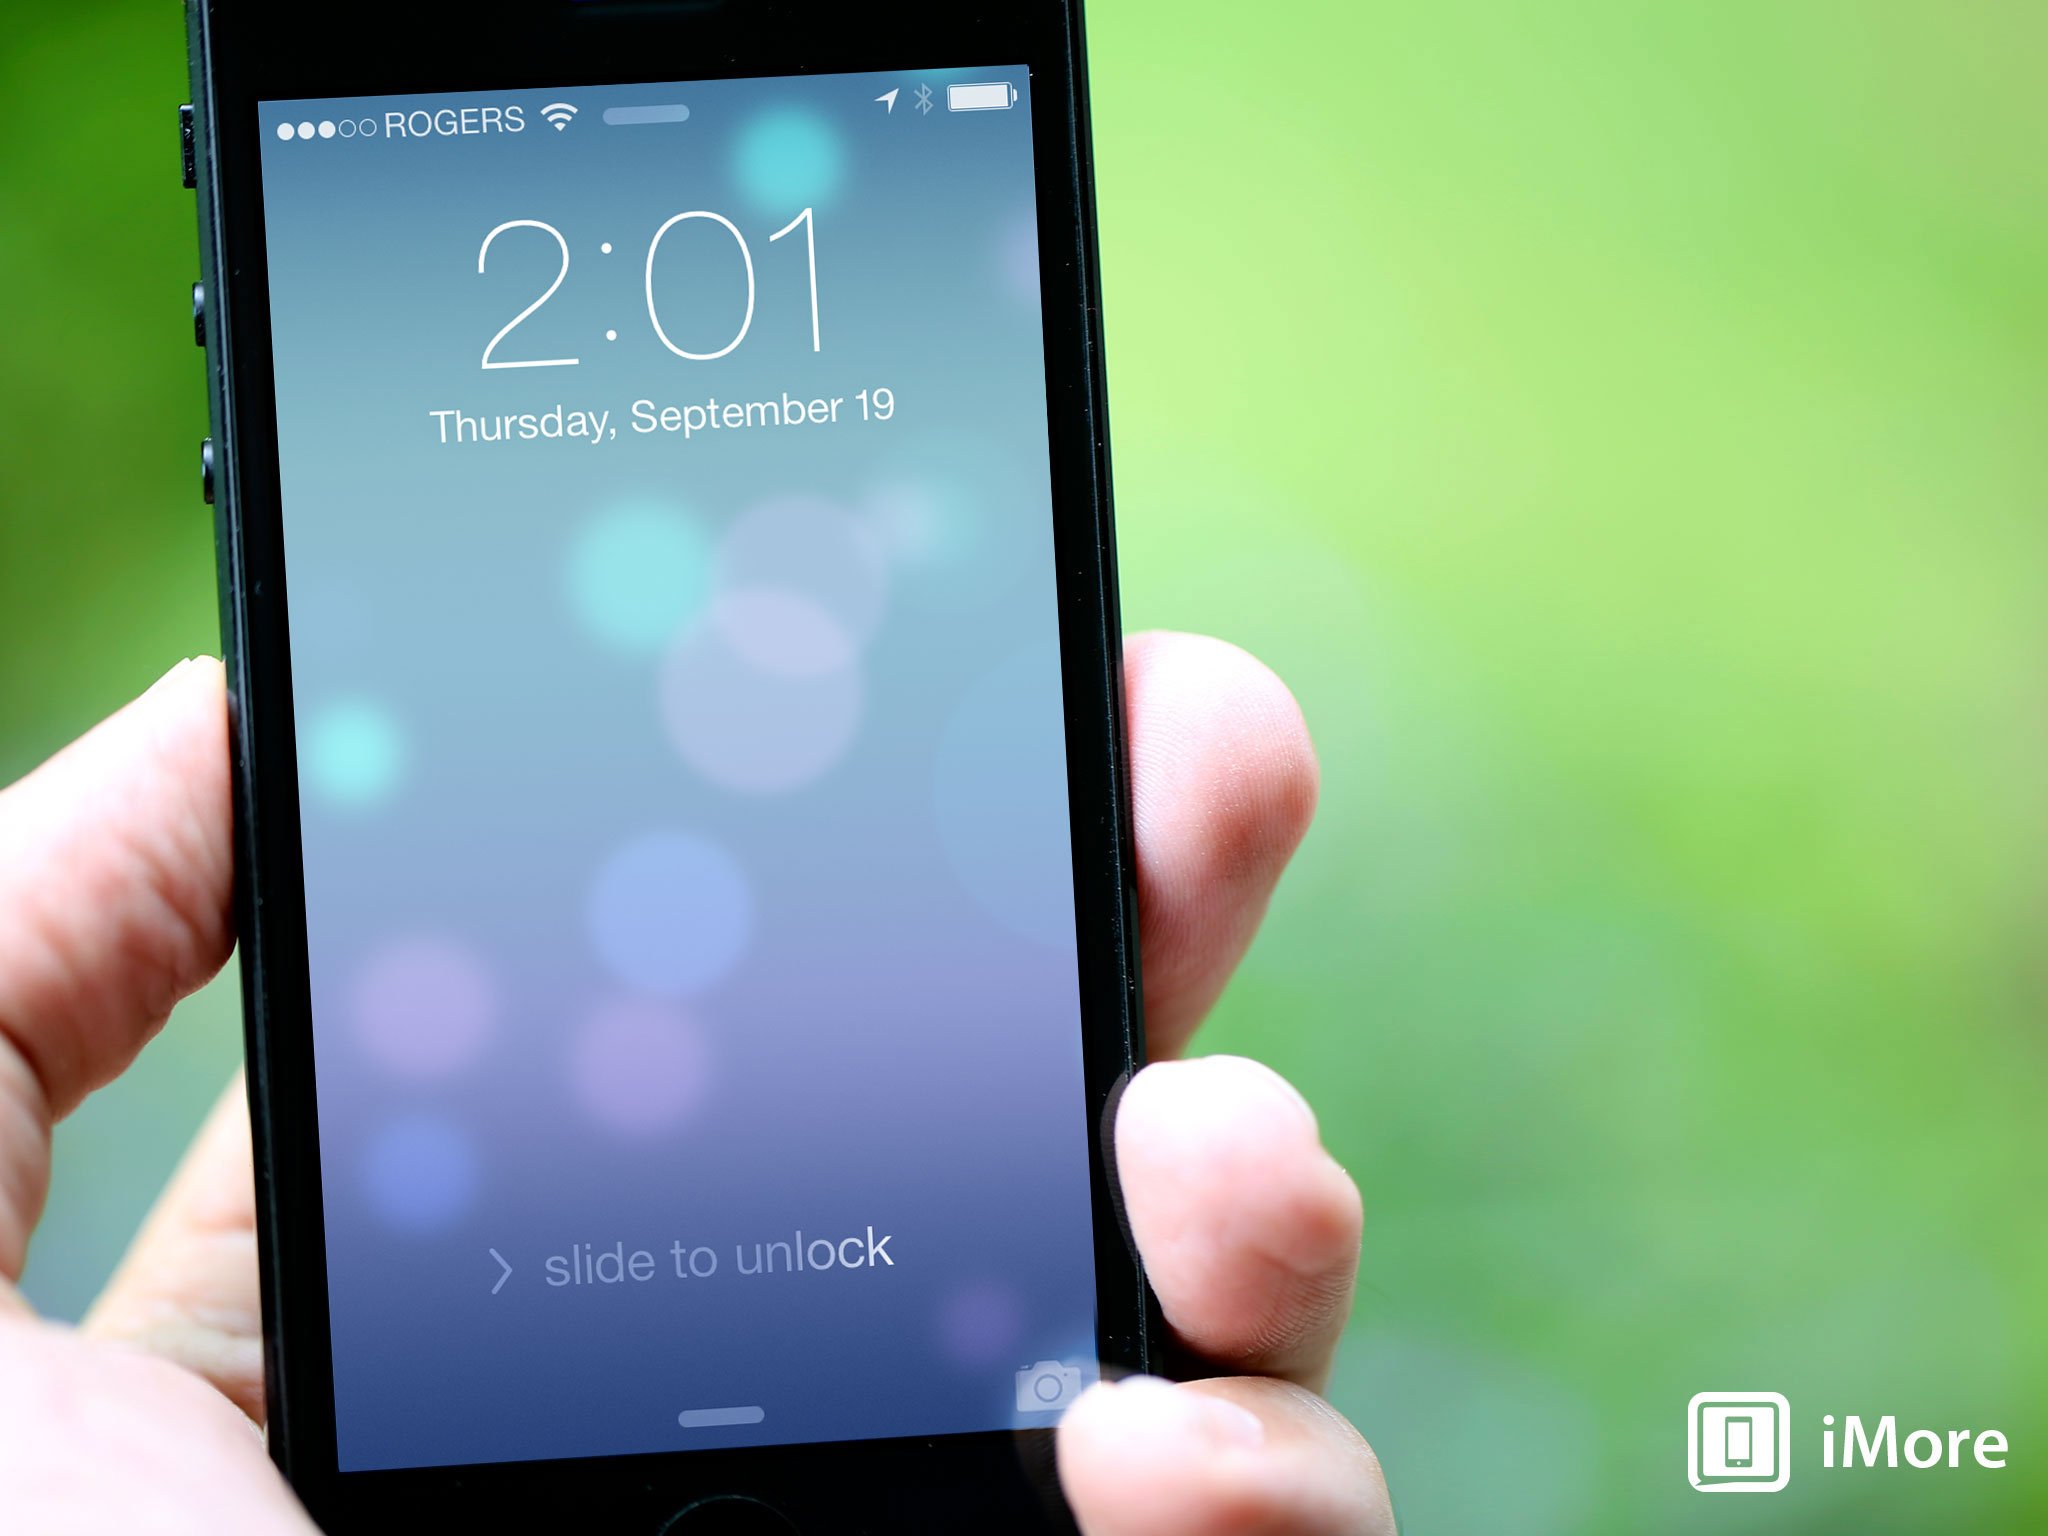
The Lock screen exists in between states, when your iPhone or iPad is no longer asleep, but is also not yet open and fully functional. It can protect your device from unauthorized access and actions by a simple slide-to-unlock gesture, by a 4 number pin-code, by a strong alpha-numeric password, or Apple's Touch ID fingerprint identity scanner. Yet the Lock screen can be functional as well. If you want to, you can access Notification Center and Control Center, the Camera, and Siri. On the iPhone, you can even make emergency calls. Yes, the Lock screen can be secure or it can be convenient, it's entirely up to you!
- How to change the auto-lock time on your iPhone or iPad
- How to secure your iPhone or iPad with a 4-digit passcode
- How to secure your iPhone or iPad with a strong alphanumeric password
- How to secure your iPhone with Touch ID
- How to quickly access your iPhone camera from the Lock screen
- How to access Notification Center from the Lock screen on your iPhone or iPad
- How to use Notification Center banners, popups, and alerts from the Lock screen of your iPhone or iPad
- How to disable Notification Center on the Lock screen of your iPhone and iPad
- How to access and use Control Center from the Lock screen on iPhone or iPad
- How to disable Control Center access from your iPhone or iPad Lock screen
- How to access and use Siri from the Lock screen of your iPhone or iPad
- How to disable access to Siri from the iPhone or iPad lock screen
How to change the auto-lock time on your iPhone or iPad

The auto-lock feature on the iPhone and iPad lets you control how long you want the screen to stay on when the device isn't being used. The shorter the amount of time you set it for, the faster the screen will go off due to inactivity. A shorter auto-lock time will make your iPhone or iPad prompt for a passcode faster, which results in better security. Not to mention battery life can improve since the screen isn't on as often. Follow along and we'll show you how to edit your auto-lock settings.
How to secure your iPhone or iPad Lock screen with a passcode, password, or Touch ID

Protecting your iPhone with a 4-digit passcode, long, strong alphanumeric password, and Touch ID, if available, makes it much, much more difficult for anyone to access your device and do things with it — like steal your data — without your permission. Passcodes provide enough protection for most people, most of the time. Long alphanumeric passwords provide stronger protection if you need it. Touch ID, if you have it, makes it quicker and faster to access your device without having to use the passcode or password.
- How to secure your iPhone or iPad with a 4-digit passcode
- How to secure your iPhone or iPad with a strong alphanumeric password
- How to secure your iPhone with Touch ID
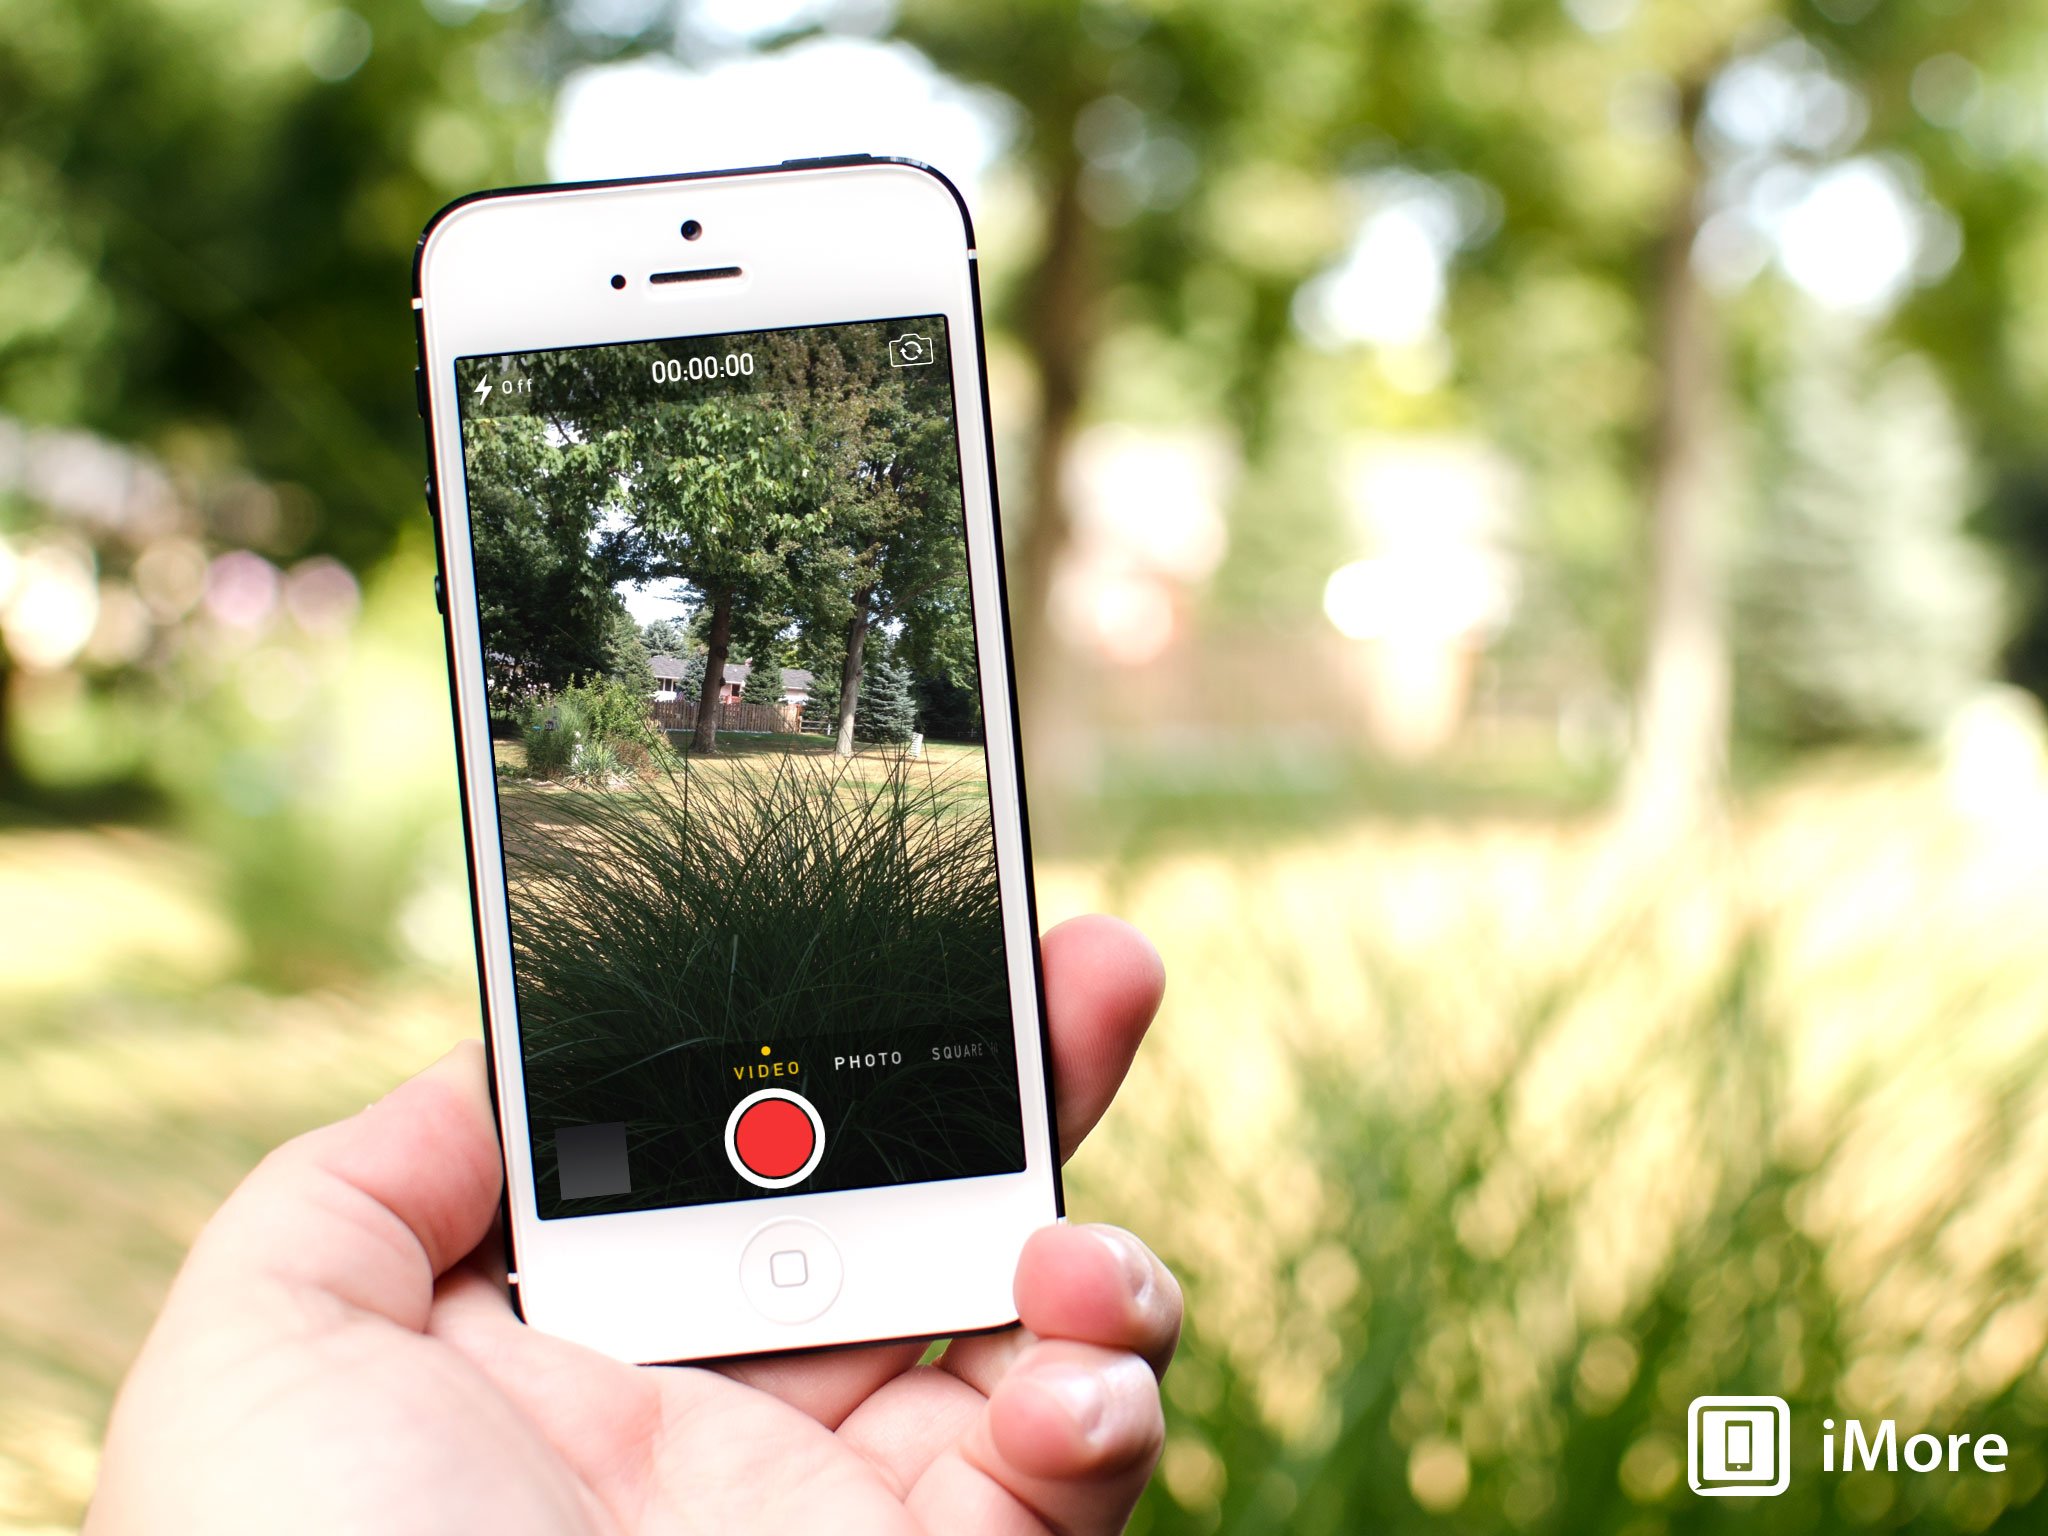
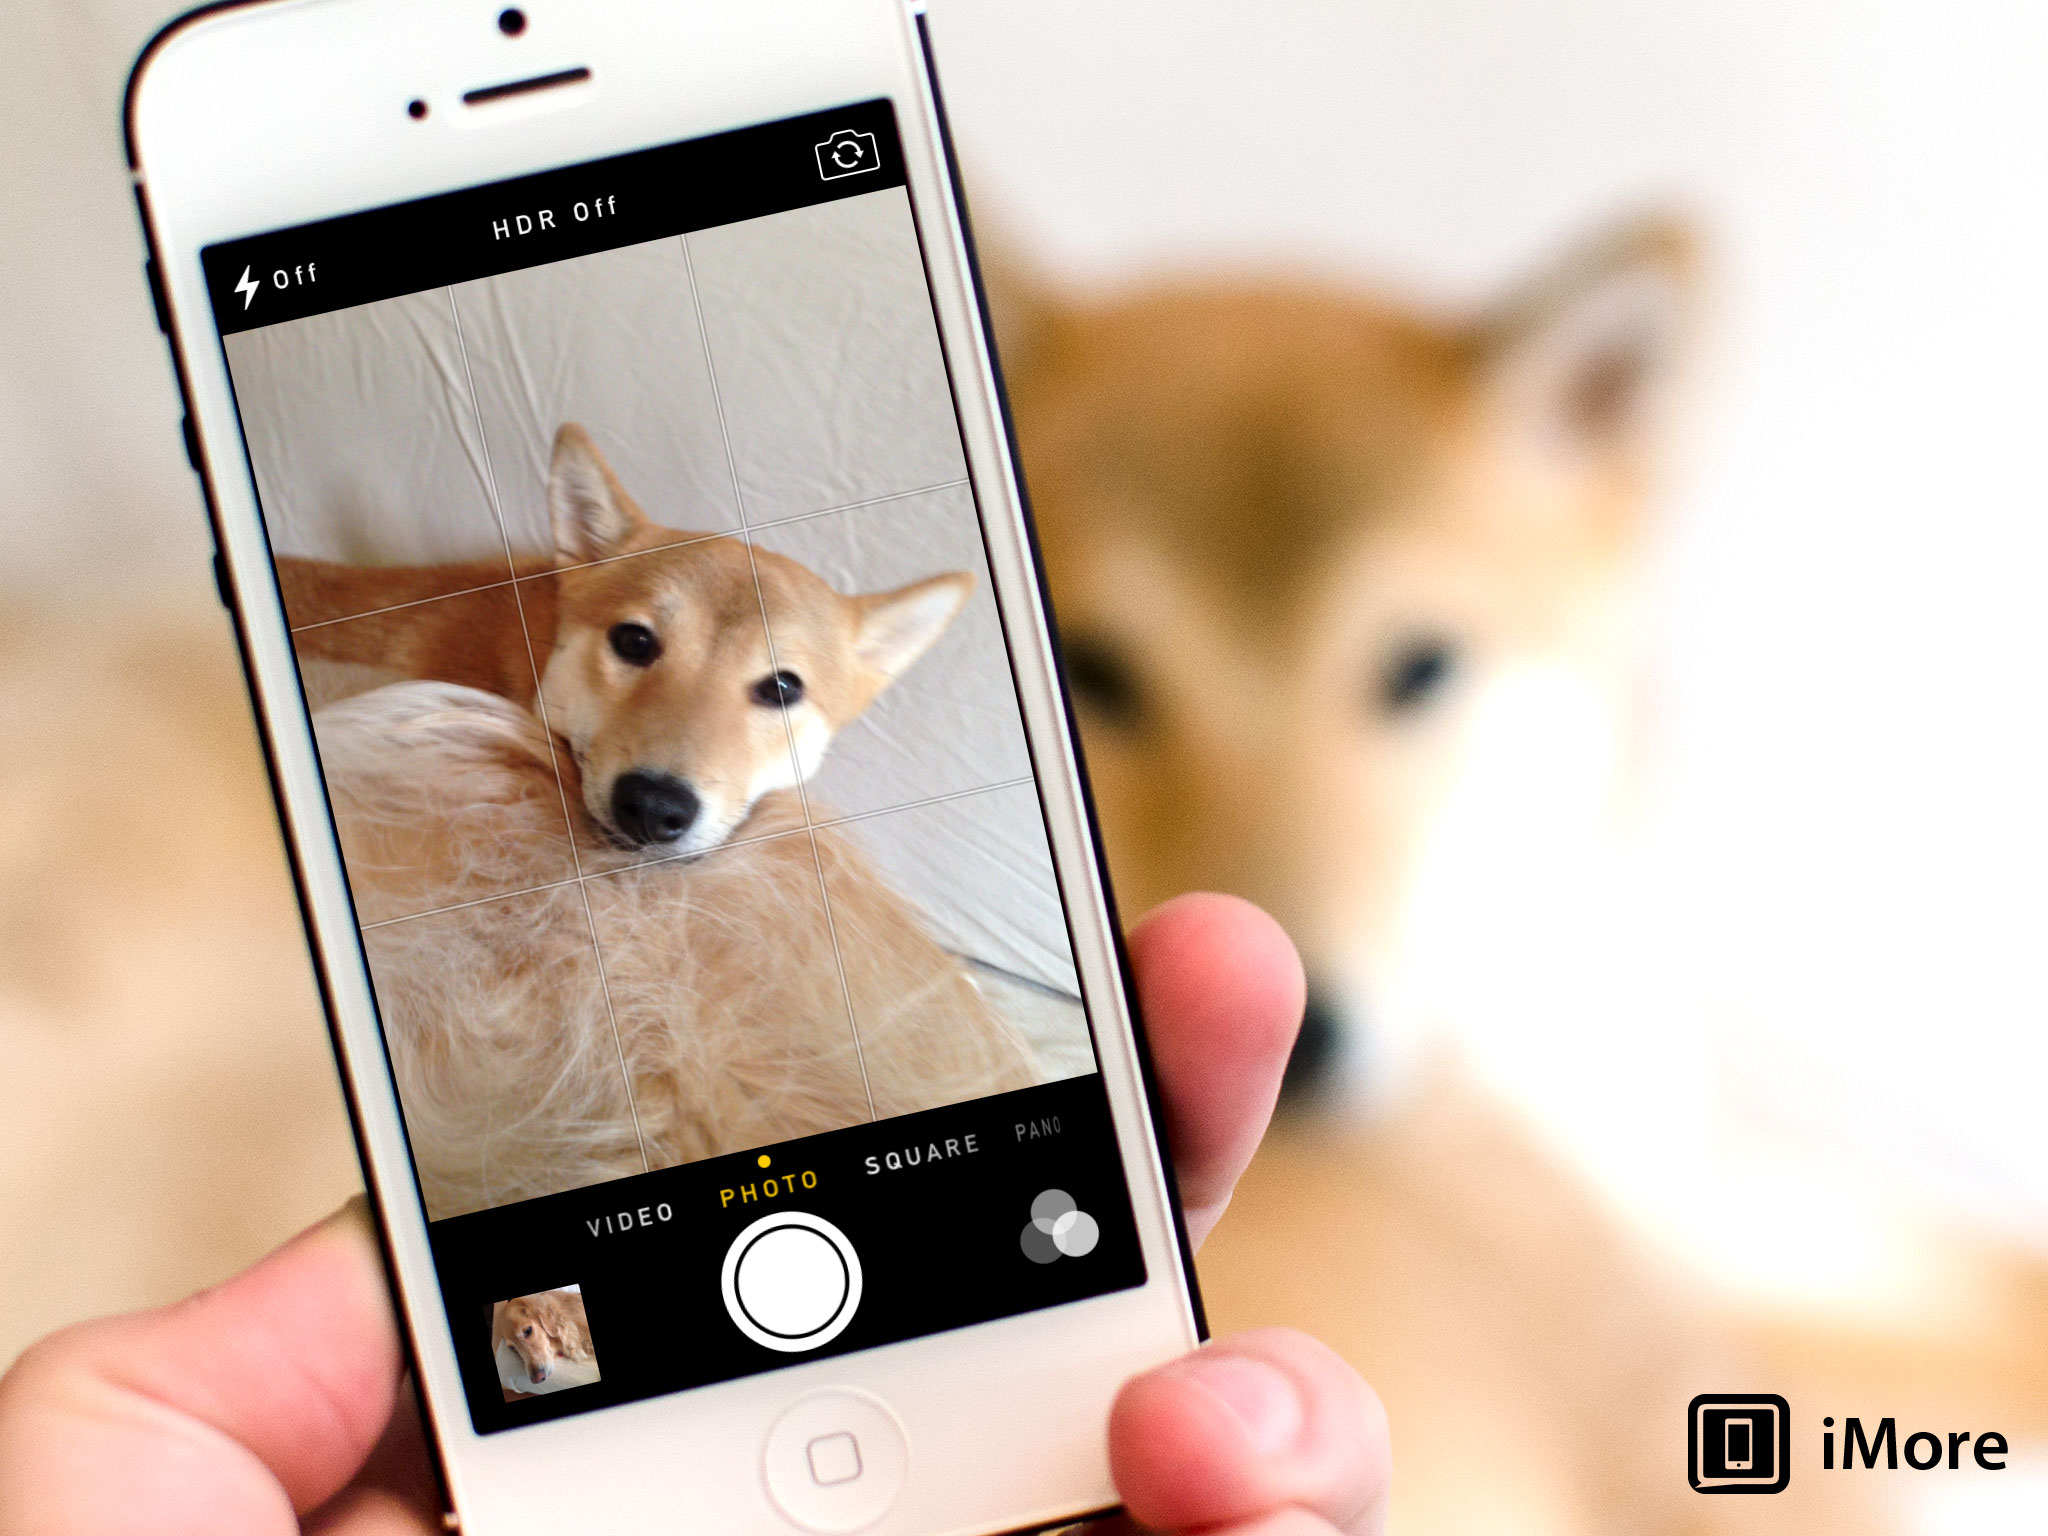
How to quickly access your iPhone camera from the Lock screen

The iPhone's iSight takes great photos under a wide range of conditions, but you still need to have it in your hands, ready to shoot, whenever the need arises. Sometimes that's when you least expect it. Sometimes that's when you see something spectacular or your child does something amazing. It's not planned, it's not posed, but it's still incredibly important to you. That's where quick camera access comes in. Apple knows you may need to get to the Camera app in a flash, and they've built in a great way to get right to it!
How to access and use Notification Center from the Lock screen on your iPhone or iPad

Notification Center collects and organizes all your alerts, all in one place, including on the Lock screen. Whether they're in Notification Center proper, or a banner or a popup, whether they beep or buzz, Notification Center does all it can to make sure you get all the alerts you need. And if you prefer not to risk having anyone else access your notifications from the Lock screen, you can easily turn it off.
- How to access Notification Center from the Lock screen on your iPhone or iPad
- How to use Notification Center banners, popups, and alerts from the Lock screen of your iPhone or iPad
- How to disable Notification Center on the Lock screen of your iPhone and iPad
How to access and use Control Center from the Lock screen on iPhone or iPad

Control Center can be called up right from the Lock screen. Once activated, Control Center gives you instant control over radios like Wi-Fi and Bluetooth, and lets you toggle Airplane mode and orientation lock. There are also media controls for your audio and volume, brightness controls, and a way to quickly launch everything from the camera to the calculator. Of course, if you don't want anyone accessing apps, toggling settings — or putting your device into Airplane mode! — from the Lock screen, you can easily disable Control Center.
- How to access and use Control Center from the Lock screen on iPhone or iPad
- How to disable Control Center access from your iPhone or iPad Lock screen
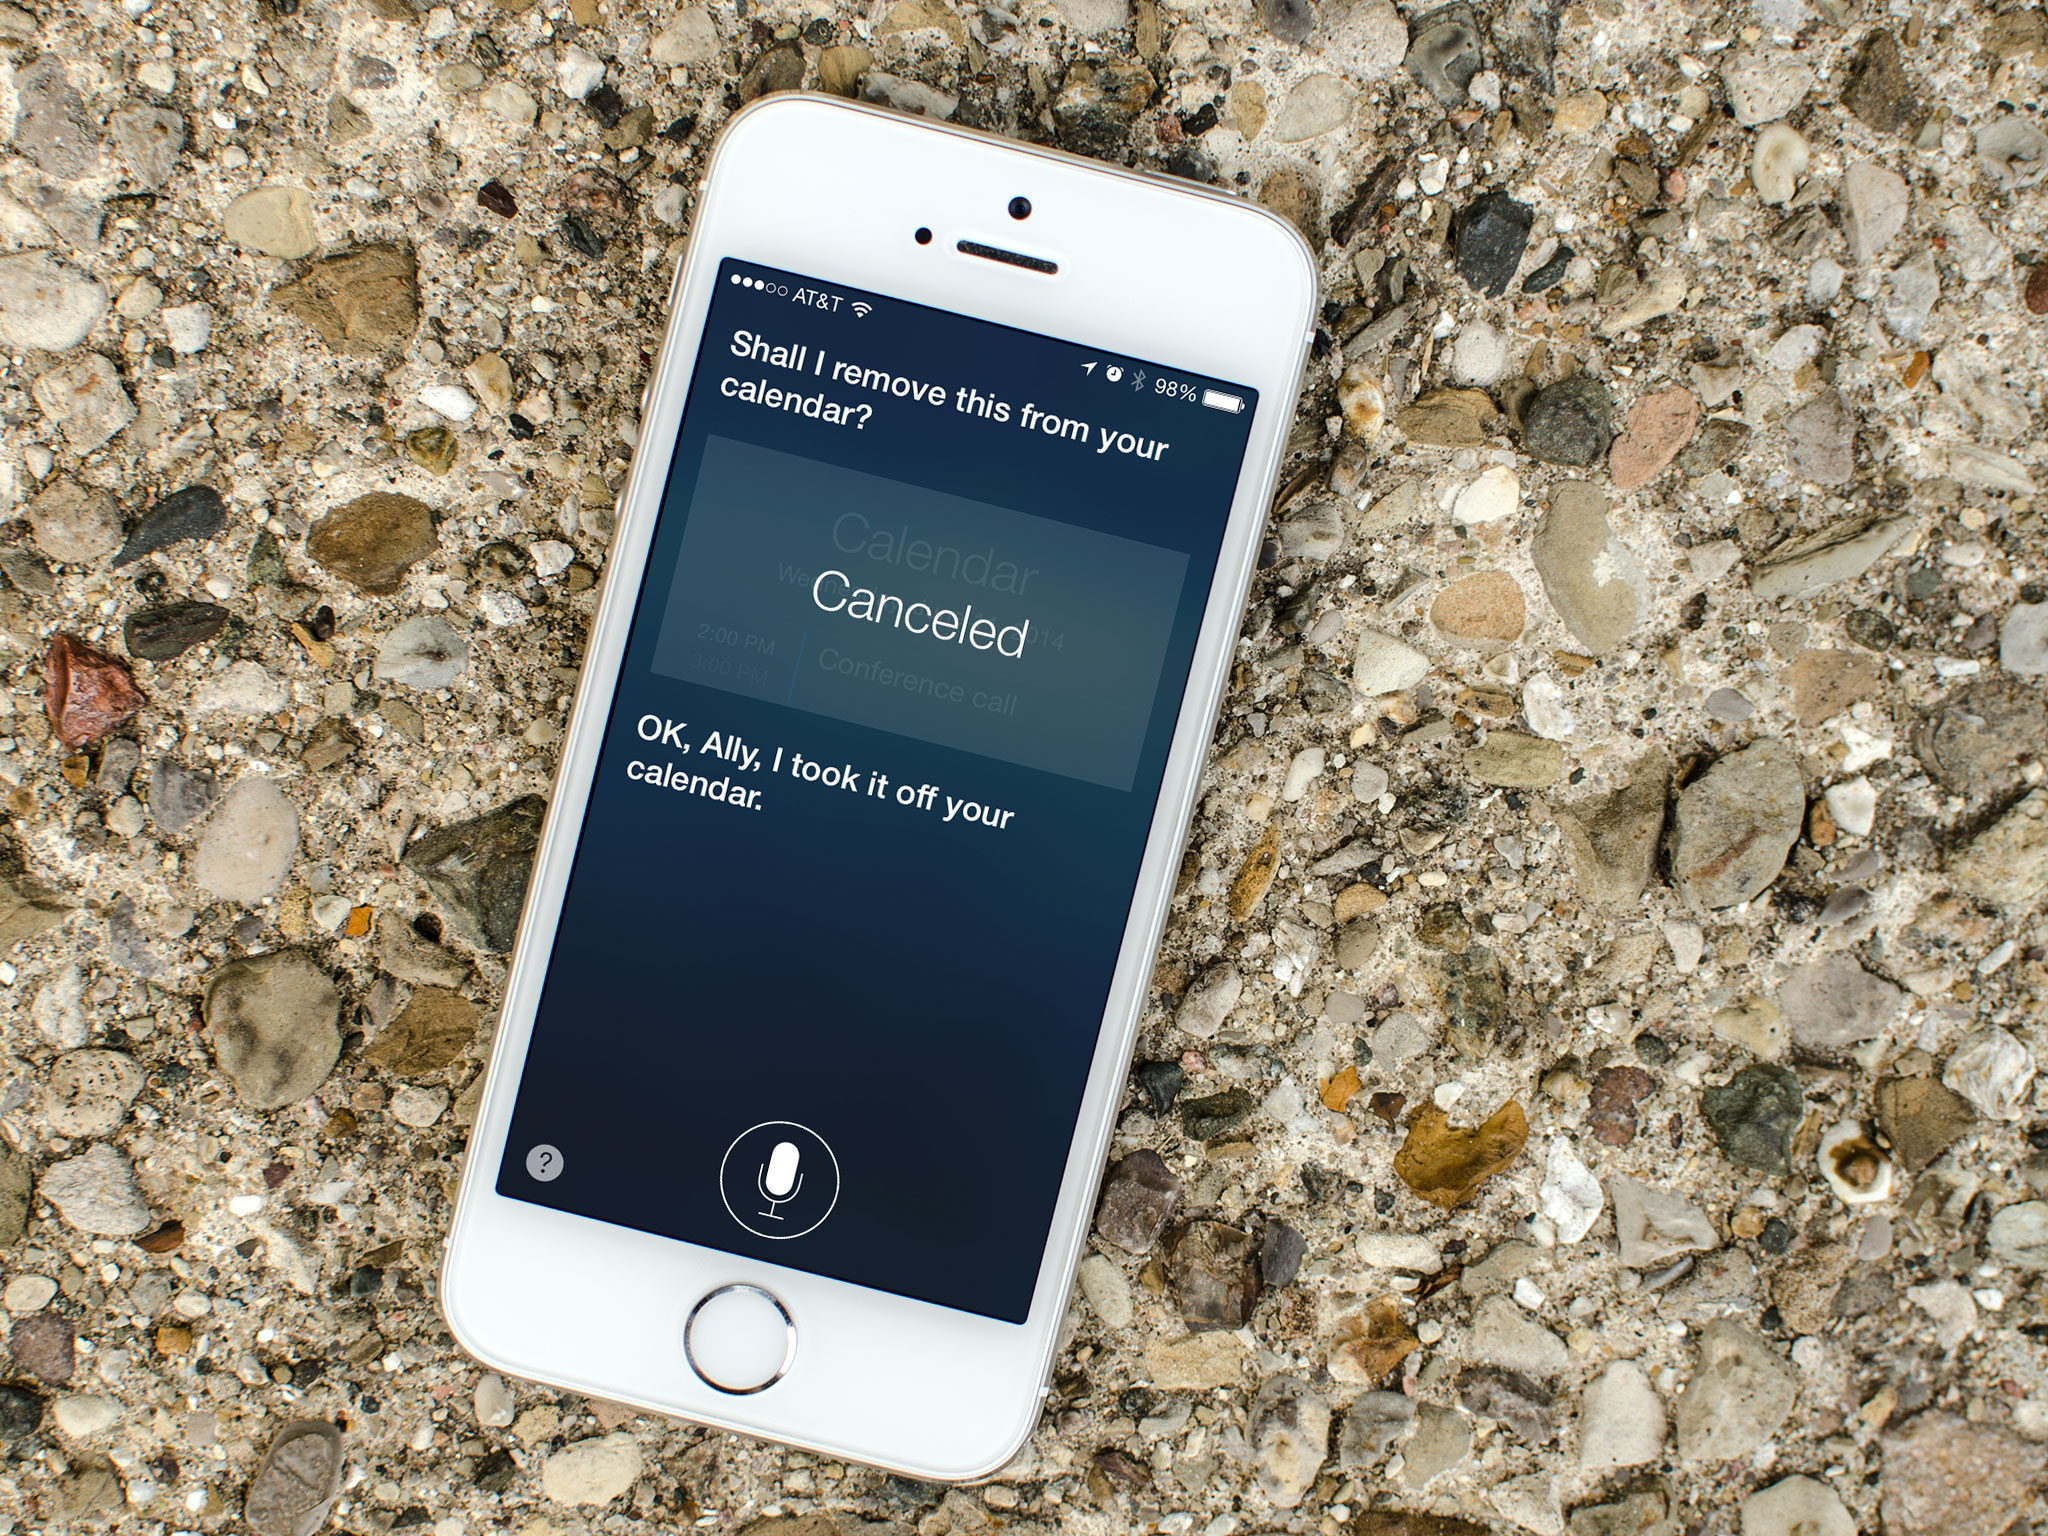
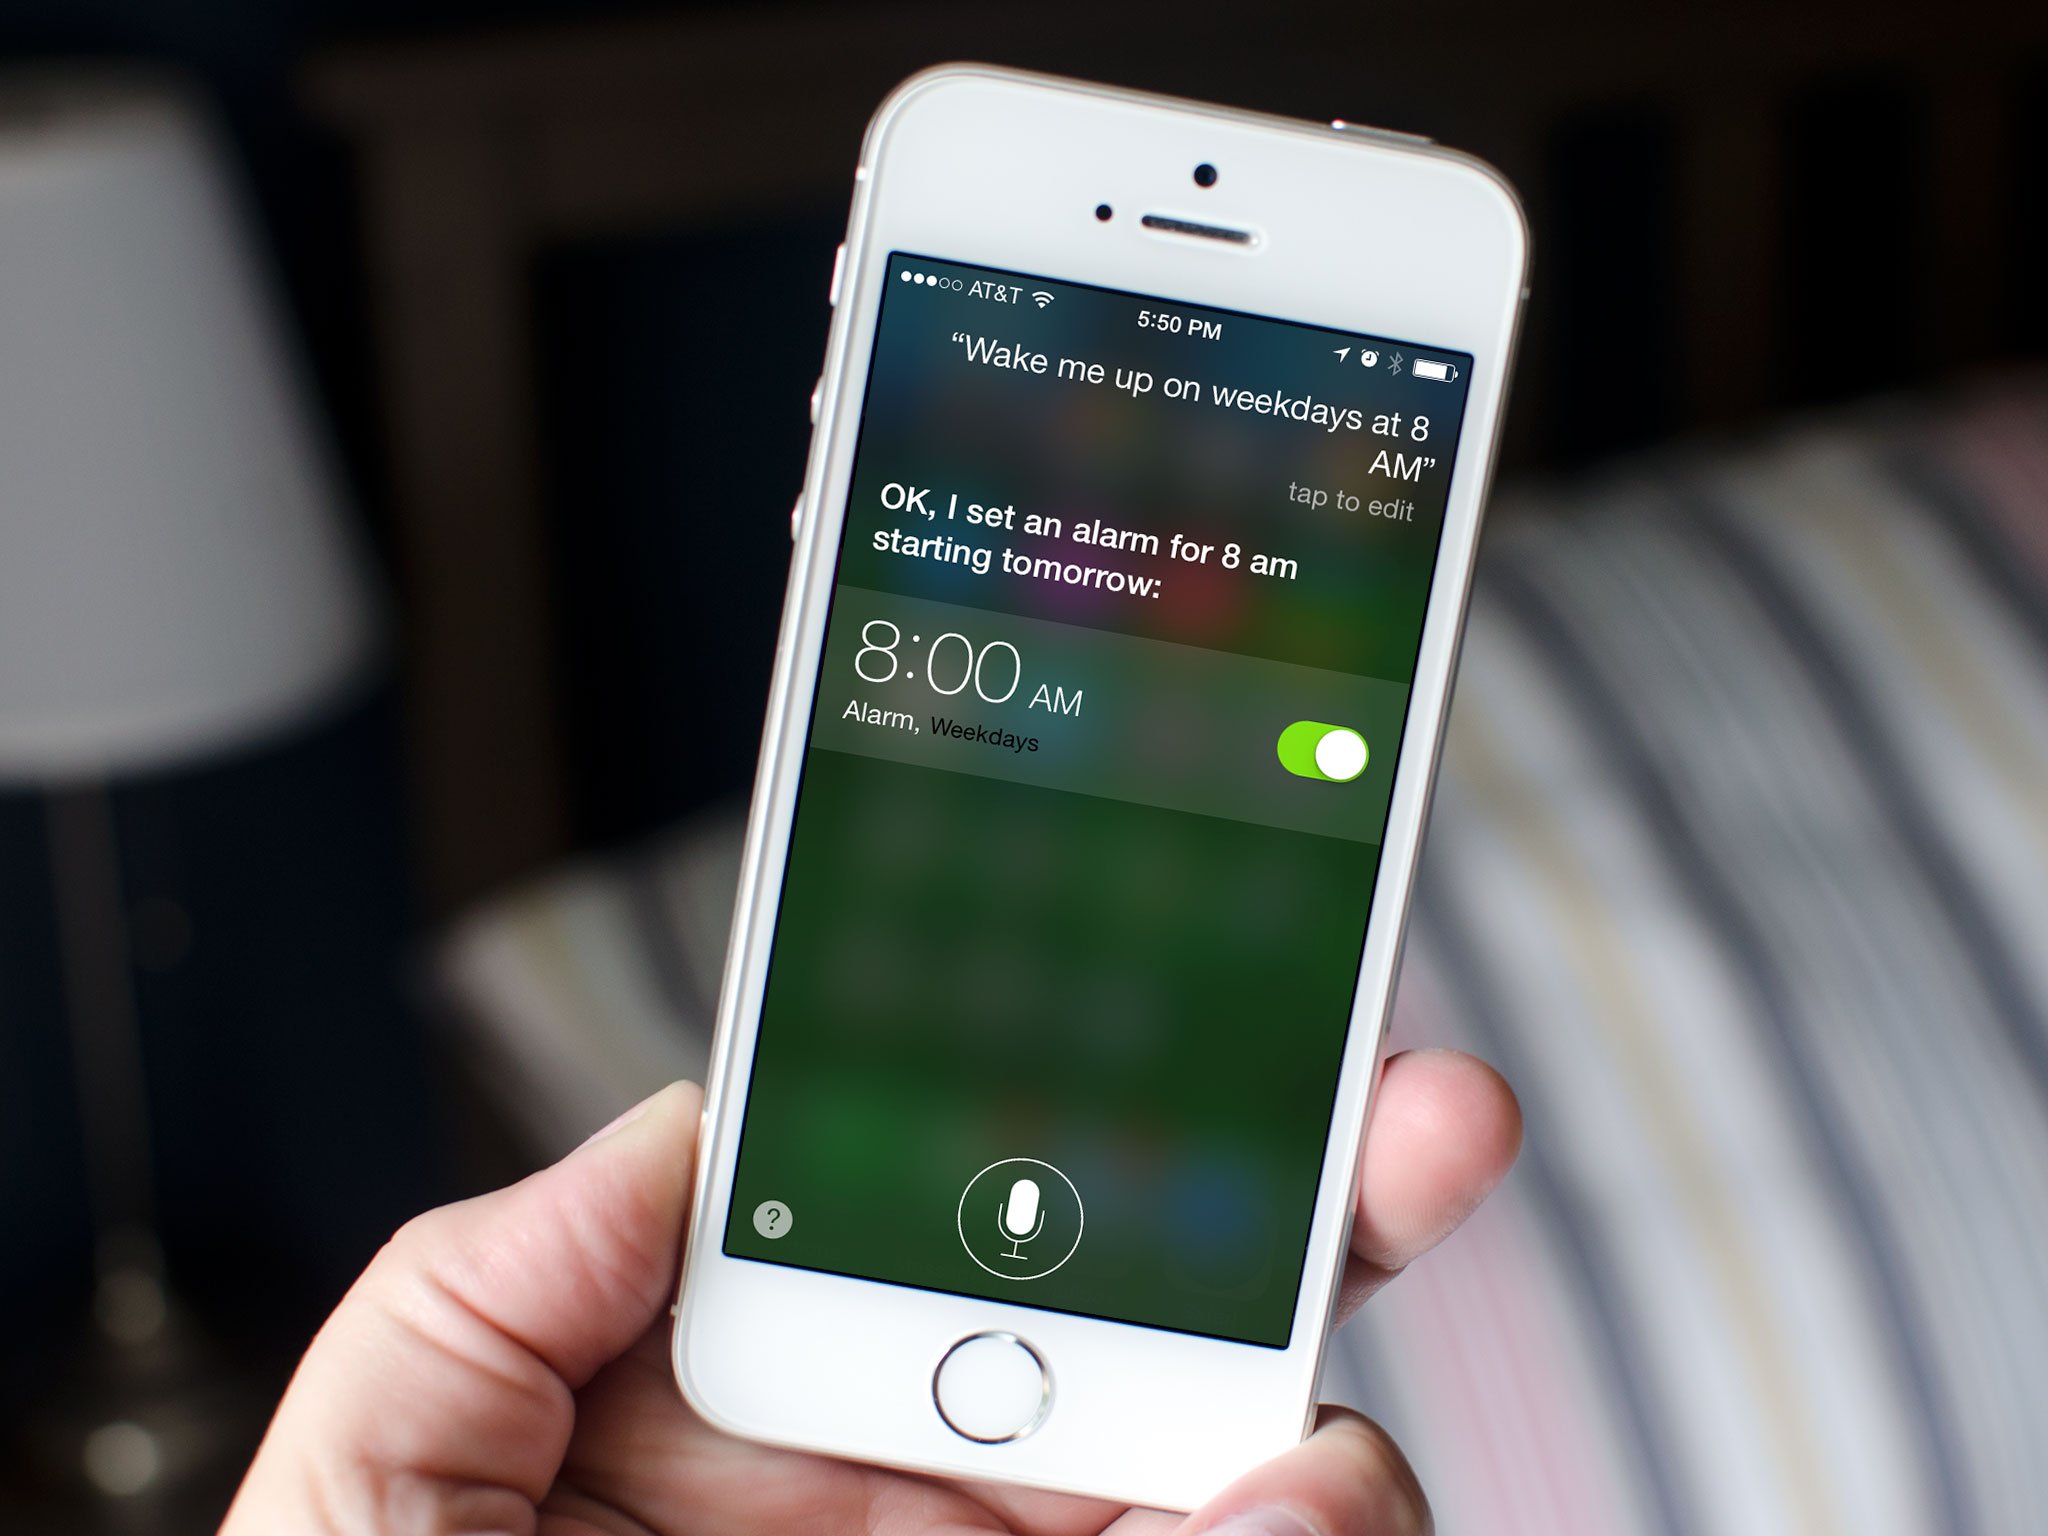
How to access and use Siri on the Lock screen of your iPhone or iPad
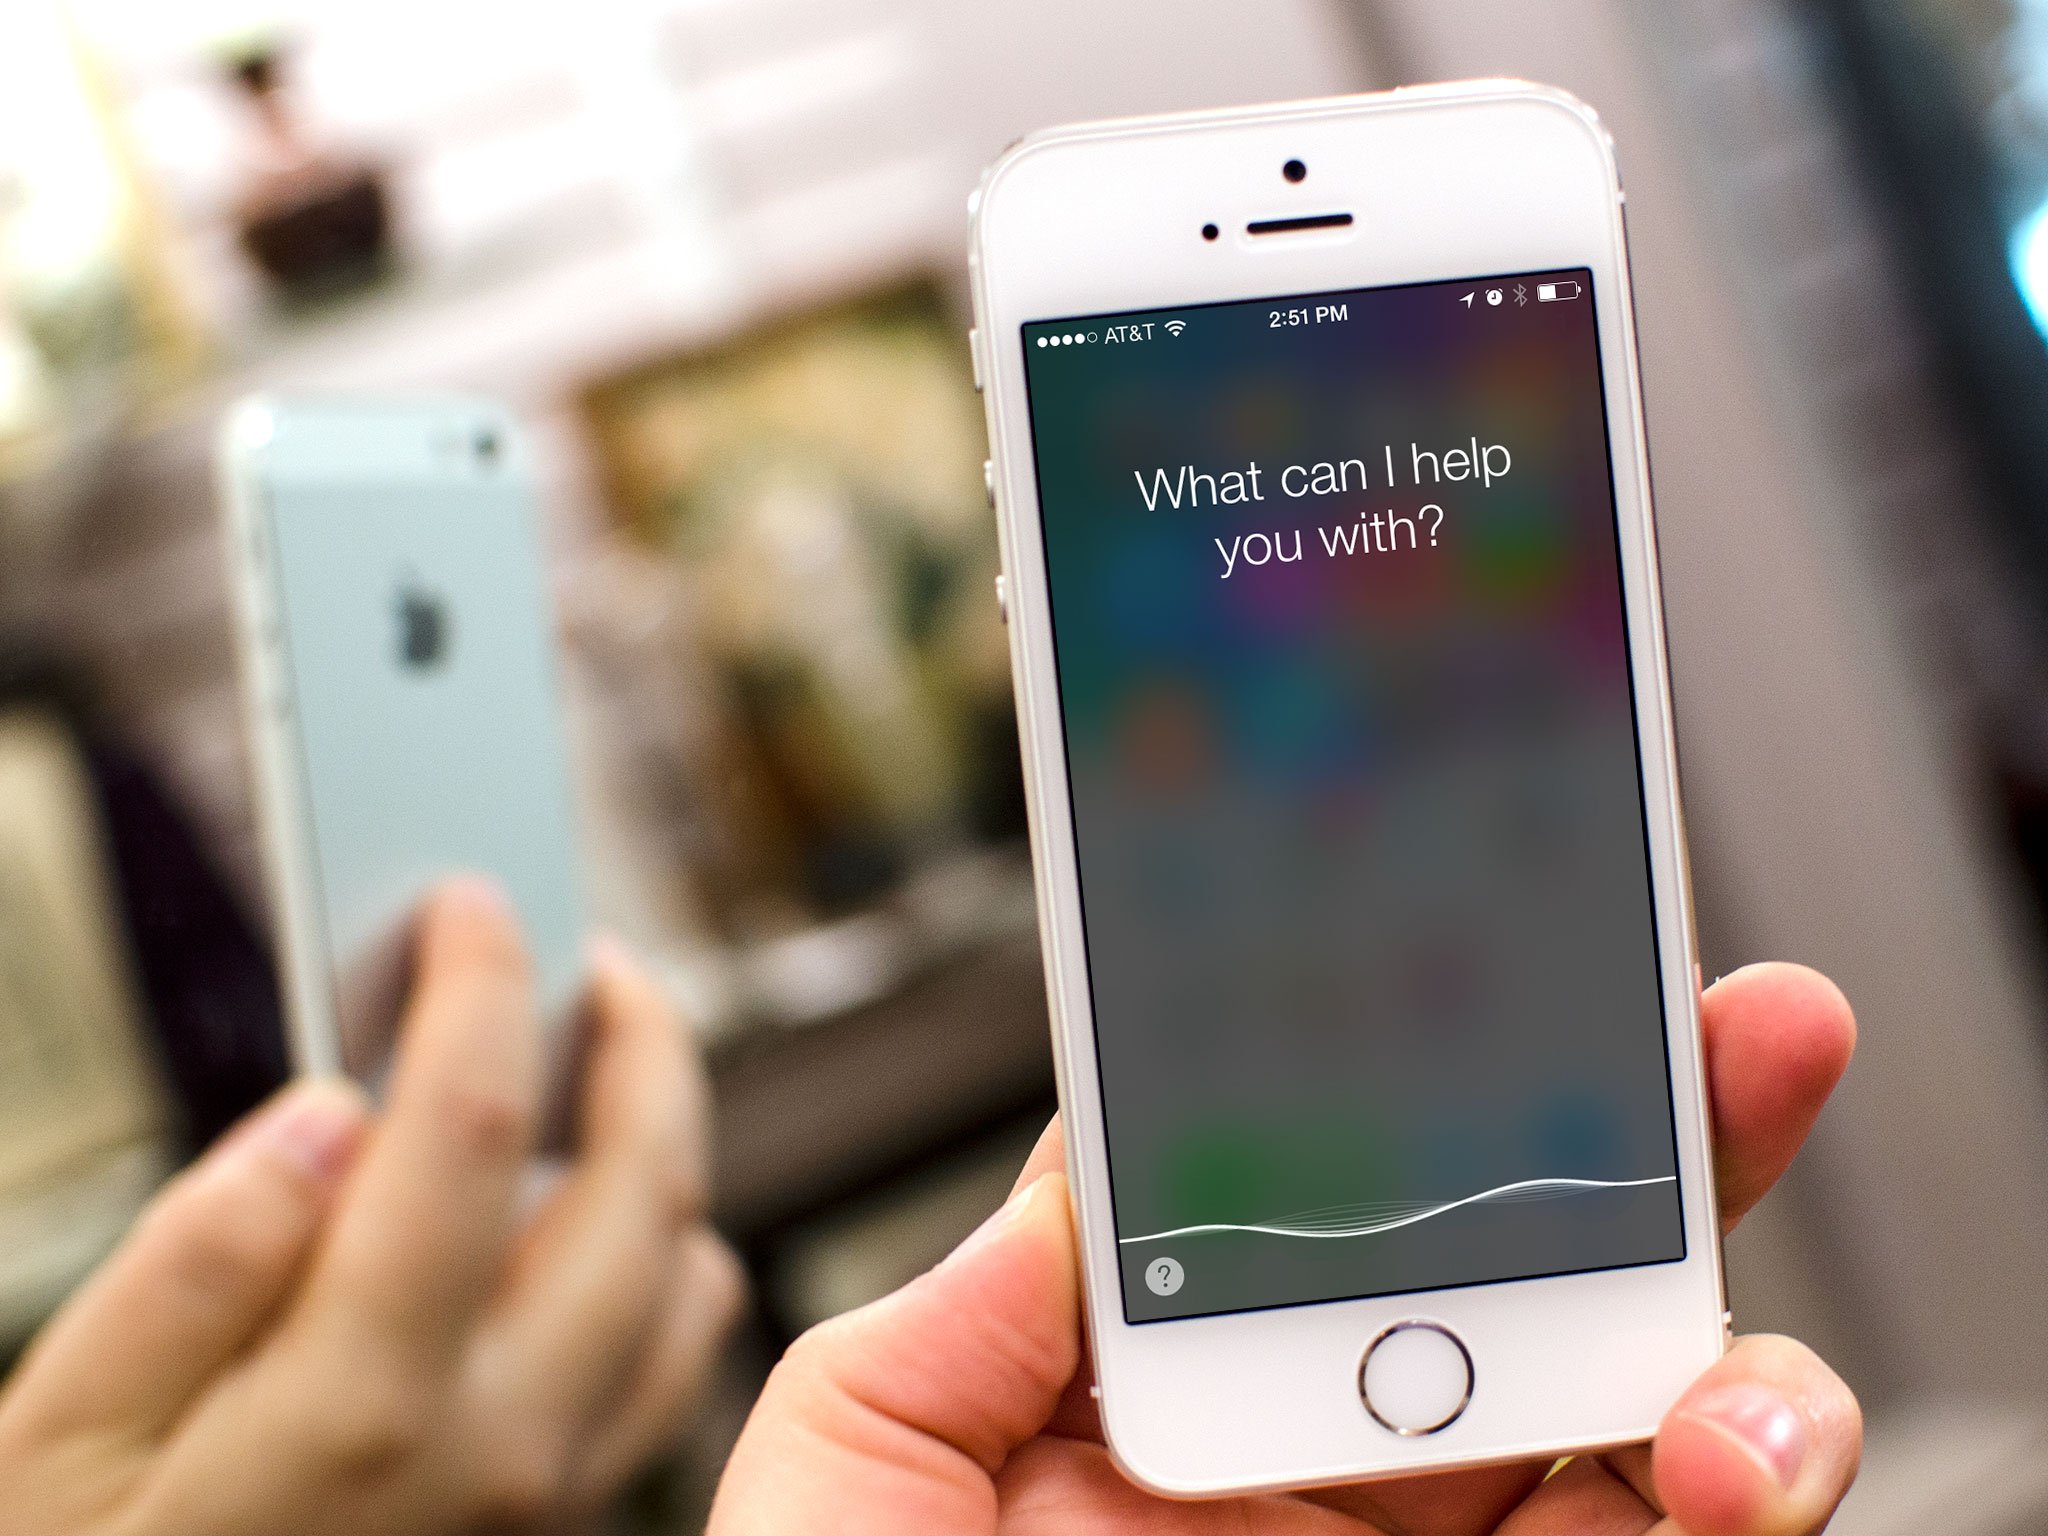
Siri is Apple's virtual, personal, digital assistant with a personality straight out of a Pixar film. With Siri, your iPhone or iPad can help you do all sorts of amazing things, from keeping in contact, to keeping on time, to keeping informed. And you can access all of it right from your Lock screen! If you don't want anyone having access to Siri from your Lock screen, you can also turn that off.
- How to access and use Siri from the Lock screen of your iPhone or iPad
- How to disable access to Siri from the iPhone or iPad lock screen
How to get more help with the Lock screen and iOS
- iOS 7: The complete review
- iOS 7.1: The complete review
- iOS 7: Everything you need to know
- How to use Home screen: The ultimate guide
- How to use Touch ID: The ultimate guide
- How to use Control Center: The ultimate guide
- How to use Notification Center for iPhone and iPad: The ultimate guide
- How to use AirDrop for iPhone and iPad: The ultimate guide
- How to use iMessage: The ultimate guide
- How to use Safari for iPhone and iPad: The ultimate guide
- How to use iCloud Keychain: The ultimate guide